How to Add a Library
By ReMo Team
Add a Library
Login to educators.remo.app
Go to the Main Menu
Go under 
Select: 
Enter the name of the library you want to create. If this is your classroom library, we suggest adding your last name and the words “Classroom Library” and hit return key
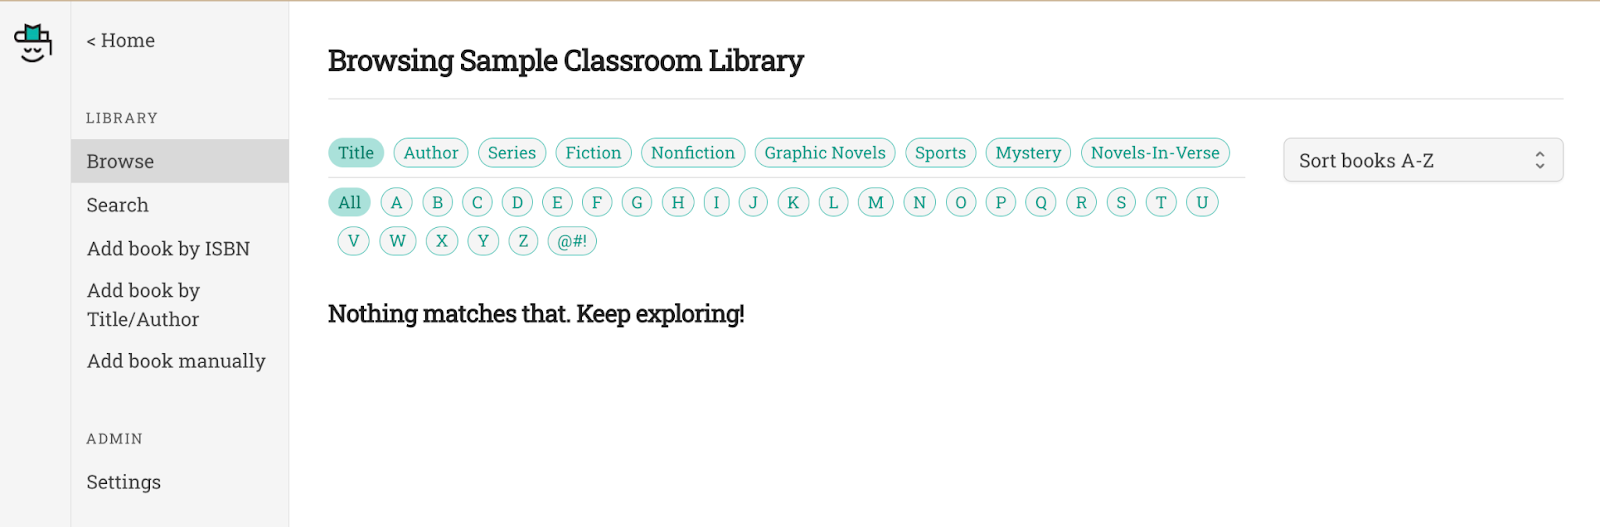
You will be directed to your new library’s home page:
To share your new library with students and/or other educators, select Settings. Select the classes that can have access to this library and the educators that can manage this library. You can also change the name of your library here.
Make sure you hit the “Save changes” button at the bottom of the screen.
Helpful Hints:
Do you have students bring books from home or from their local public library? Create a new library called Other Books Library. Add the books to this library so they are not mixed in with your classroom library books.
Video link: Written directions not your vibe, check out our quick video tutorial here
Next Steps:
Now it is time to add some of your books to your classroom library! Go to Add a Book to learn how.
Got Questions? Or suggestions? Our ReMo Team cares what you and your students think, feel, and experience so please email us at support@remo.app.